A Halloween How To...
This Tutorial got a lot of attention this year, so I just thought I'd Share it again.
I've already made one batch this year, and gonna do another.
It is a fun project for all, give it a try and
Enjoy!
I have this little fun Project for you to try.
I made these years ago and was just in the mood to make them again.
And I'd like to share it with you.
To This...
Step 1.
Gather your Oranges,
and cut the tops off.
(save them for later)
Carefully, nice and straight now.
Step 2.
Scoop and Scrape out all the insides,
Like So...

but be careful, not to rough,
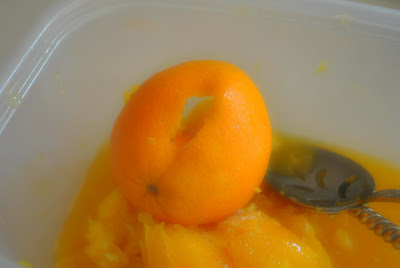
or you will get this...
This is what you should end up with...
Be sure to save the juice for Breakfast :o)
Step 3.
Get your tops, and
carefully cut out the pulp from the tops too.
And here you have it, empty Orange cups and lids...
Step 4.
Place all your hallowed out Oranges and Tops
on a Foil lined cookie sheet.
Step 5.
And here is where you will use your own judgment.
I baked mine at 275 degrees for 2-4 hours.
Watching close so they don't over cook and burn.
Like my first batch did, HA!
So be sure to check on them every half hour or so after the first hour has passed.
If they are to soft or burn to much, it will be difficult to carve the face later.
Almost Ready...
You will want them just a little soft for carving easily and just a touch darkened.
They will shrink quite a bit.
See here...
Step 6.
Draw your Jack-o-lantern face.
I keep it simple here..
Very carefully use an X-acto knife to cut
away pieces.
Poke a tiny hole one each side of your pumpkin,
and run a rusty wire through and with pliers, curl the end of the wire to stay in place.
Step 8.
Glue in some moss and glue on the tops...
Decorate as you wish.


